Appearance
Installation Guide
Quizora includes a visual web installer — a step-by-step wizard that guides you through the entire setup process. You do not need to use the command line.
Step 1 — Upload the Files
- Download the Quizora zip from your CodeCanyon account.
- Extract the zip file on your computer.
- Upload the contents of the
quizora/folder to your web server.- If using cPanel: Upload via the File Manager or FTP, placing files in
public_html/(or your desired subdomain folder). - If using VPS: Upload to
/var/www/quizora/or your preferred path.
- If using cPanel: Upload via the File Manager or FTP, placing files in
- Make sure the web root points to the
public/folder inside Quizora.
How to point the web root to public/ (cPanel)
In cPanel, go to Domains → Create a Domain (or edit an existing subdomain). Set the Document Root field to public_html/quizora/public rather than public_html/quizora.
How to point the web root to public/ (Nginx)
In your Nginx server block, set:
nginx
root /var/www/quizora/public;Then reload Nginx: sudo nginx -s reload
Step 2 — Create a Database
- Log in to your hosting panel (cPanel, Plesk, phpMyAdmin, etc.).
- Create a new MySQL database.
- Create a database user and assign it full permissions on the new database.
- Note down: database name, database username, database password, and host (usually
localhost).
Step 3 — Run the Installer
- Visit your website URL in a browser — e.g.
https://yourdomain.com. - You'll be automatically redirected to the installer:
https://yourdomain.com/install. - Follow the 6-step wizard:
Installer Step 1: Requirements Check
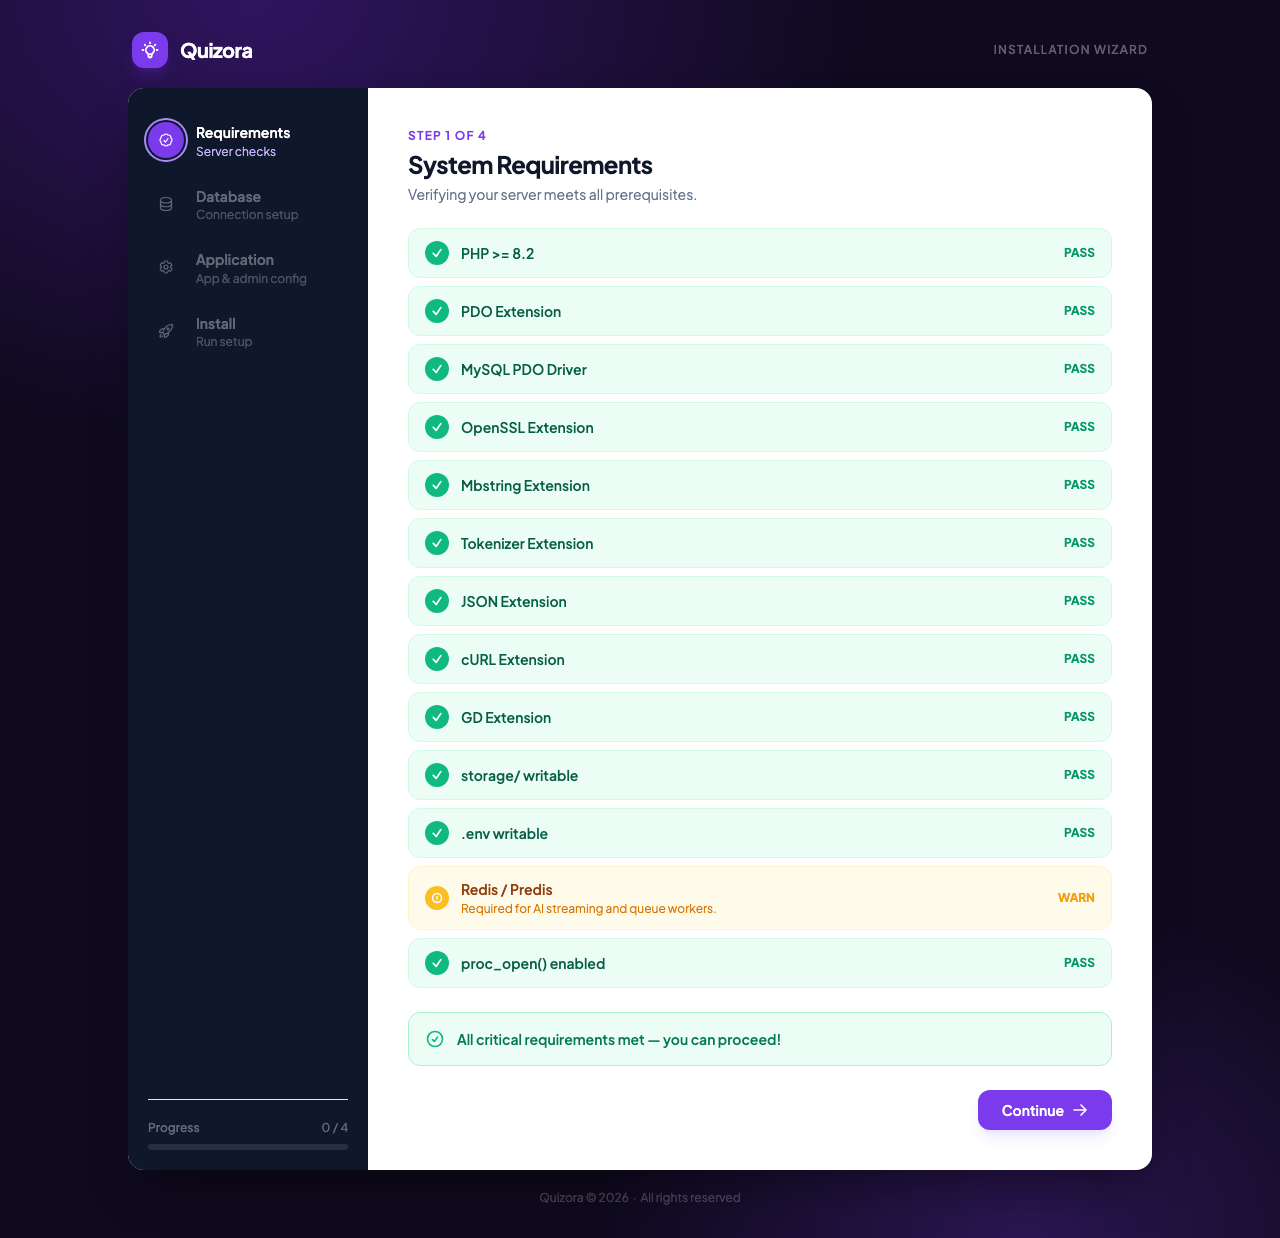
The installer checks that your server meets all PHP extension and folder permission requirements. Every item must show PASS before you can continue. Common fixes:
- Folder not writable: Set permissions on
storage/andbootstrap/cache/to755or775. - Missing PHP extension: Enable it in your hosting panel's PHP configuration (PHP Selector or php.ini).
Redis shows WARN, not FAIL
Redis is recommended for AI streaming and background job queues, but the platform will still run without it (it falls back to database queues). You can add Redis later.
Installer Step 2: Database Configuration
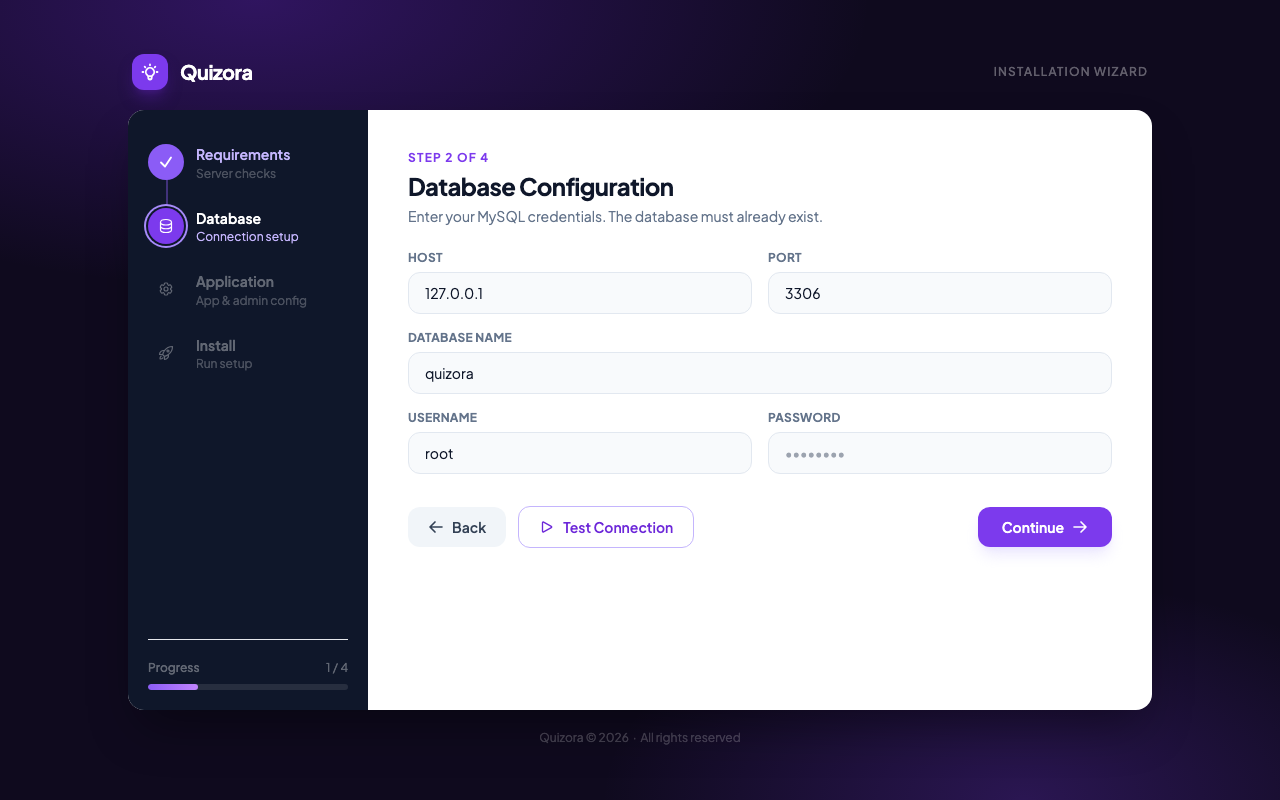
Enter the database credentials from Step 2 above. Click Test Connection — a green confirmation appears when the connection succeeds. Fix any errors before clicking Continue.
Installer Step 3: Application Setup
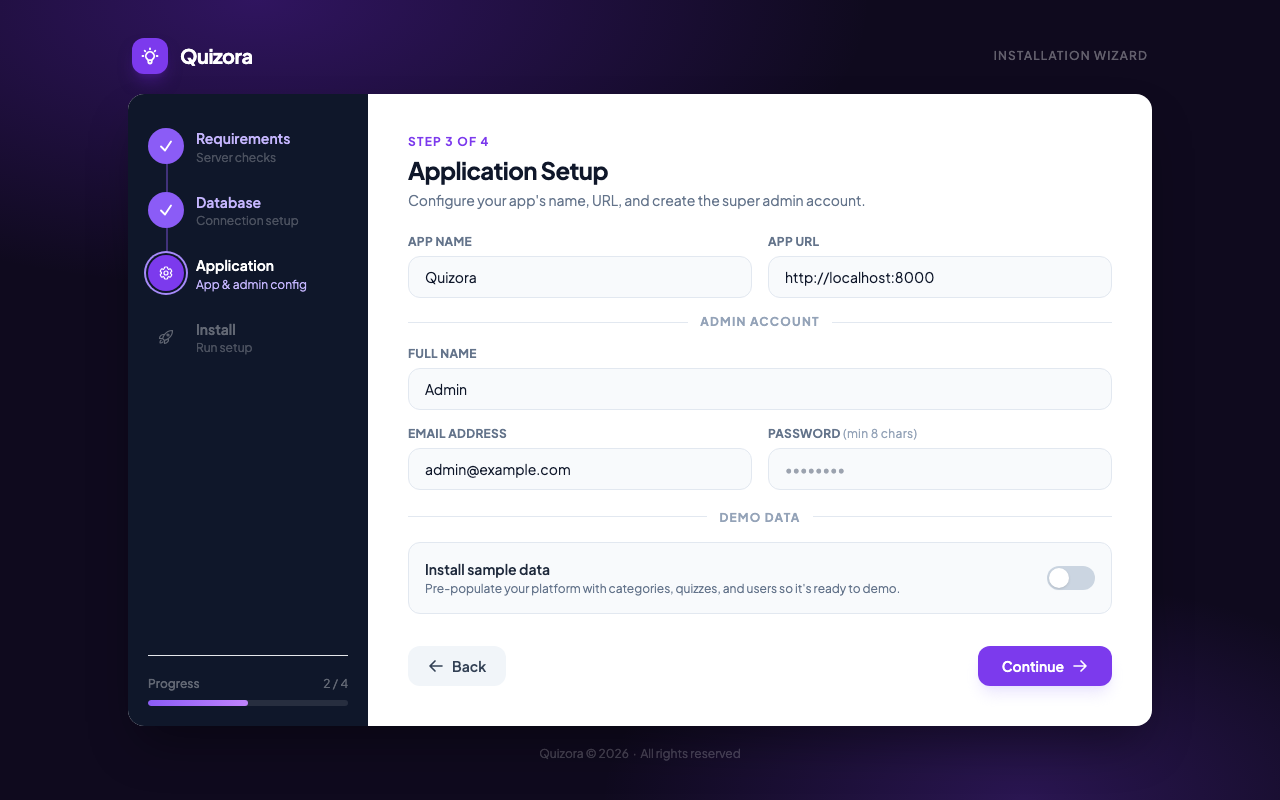
Fill in:
- App Name — The name of your platform (e.g. "My Quiz Hub"). Shown in the browser title and emails.
- App URL — Your website's full URL (e.g.
https://yourdomain.com). Must match exactly. - Full Name — Your super-admin display name.
- Email Address — Your super-admin login email.
- Password — Your super-admin login password (min 8 characters).
- Install sample data — Toggle on to pre-populate the platform with demo categories, quizzes, and users. Recommended for first-time evaluation.
Installer Step 4: Ready to Install
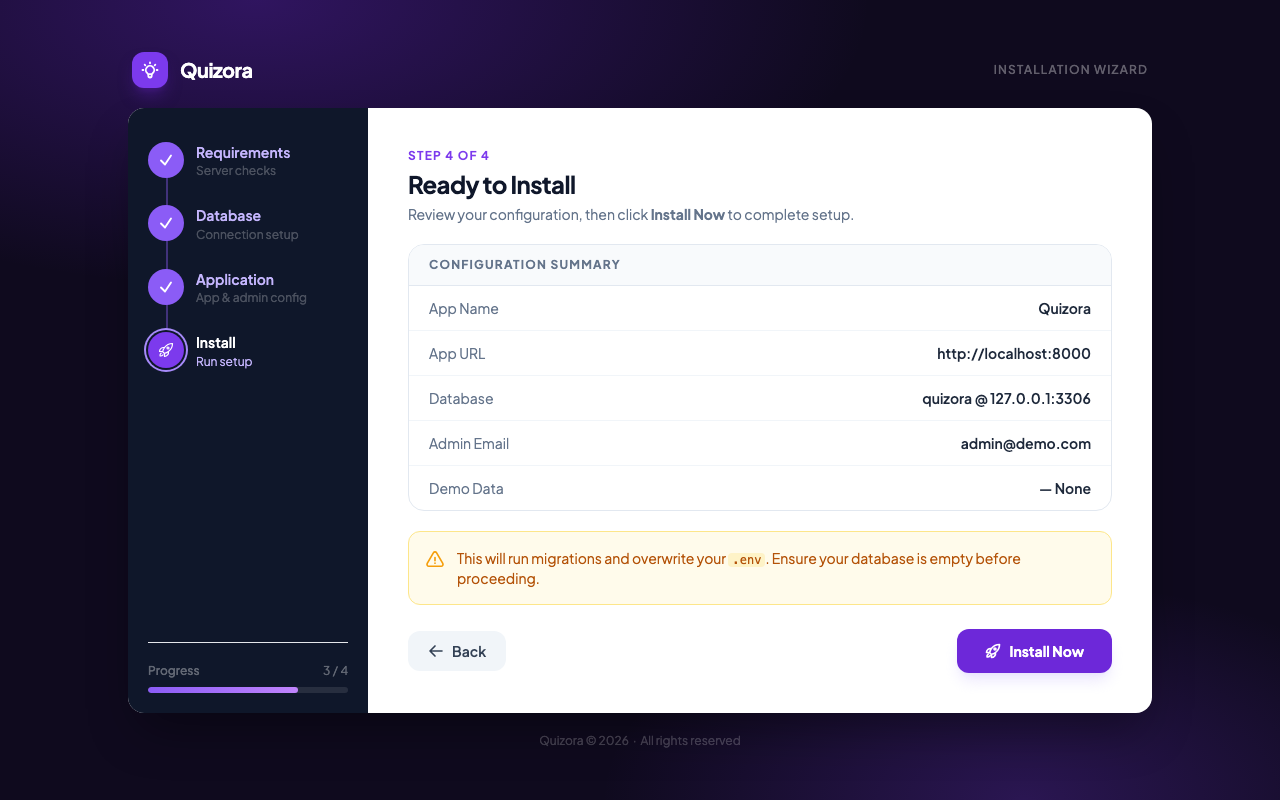
Review the configuration summary. If everything looks correct, click Install Now. The installer will:
- Run all database migrations (creates every table)
- Seed default categories and subscription plans
- Create your super-admin account
- Generate your application encryption key
- Lock the installer so it cannot be re-run accidentally
Do not navigate away during installation
The install process takes 10–30 seconds. Leaving the page mid-install may leave the database in a partial state.
Step 4 — Log In
After installation completes, click Go to Admin Panel and log in with the email and password you set in Installer Step 3.
First Login Checklist
Once logged in, go to Admin → Settings and complete:
- Upload your platform logo
- Set your commission rate
- Add your OpenAI API key (for AI quiz generation)
- Add your Razorpay or Stripe keys (to accept quiz payments)
- Configure SMTP mail settings (for result and receipt emails)
Updating Quizora
When a new version is available on CodeCanyon:
- Download the updated zip from your CodeCanyon account.
- Back up your current installation (export the database + download your
storage/app/folder). - Replace the application files — do not overwrite your
.envfile. - Run
php artisan migratefrom the root folder.
Always back up first
Before updating, export your database and download a copy of your storage/app/ folder. Updates should be smooth, but a backup protects your data.